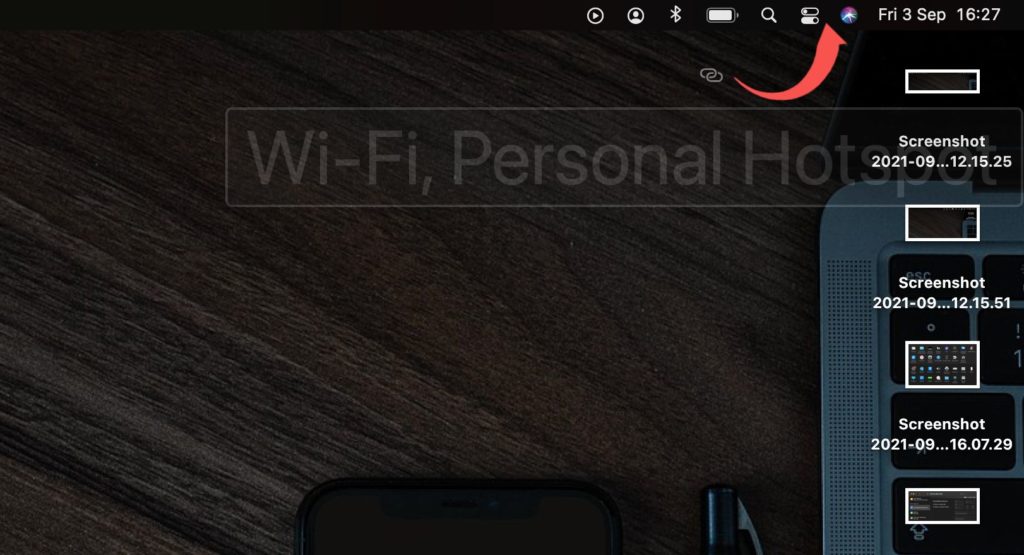
You are able to customize what you see on the right side of your menu bar. That is, you’d choose if to show certain icons or not. You can also choose what part of the menu bar the icons should be in. And change their position from time to time. In this post, we’ll show you how to add, remove, and rearrange icons on your menu bar to suit your preference. Follow through. READ MORE: How to Create Keyboard Shortcuts For Apps on Mac.
Add, Remove, Rearrange Menu Bar Icons on MacBook
Add Icons to Menu Bar on Mac
If you’d like to add icons to the menu bar on your MacBook, please follow the steps below.
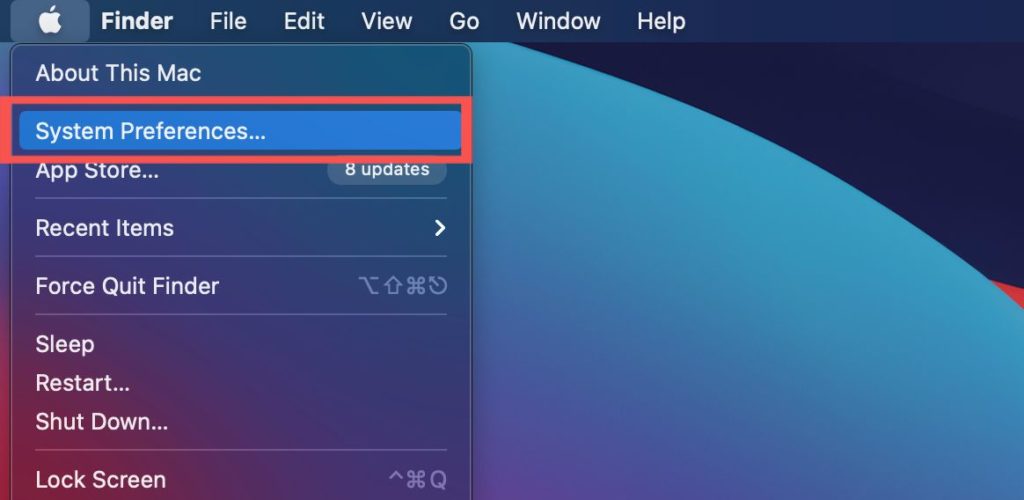
Click the Apple Menu at the top left of the screen and select System Preferences.
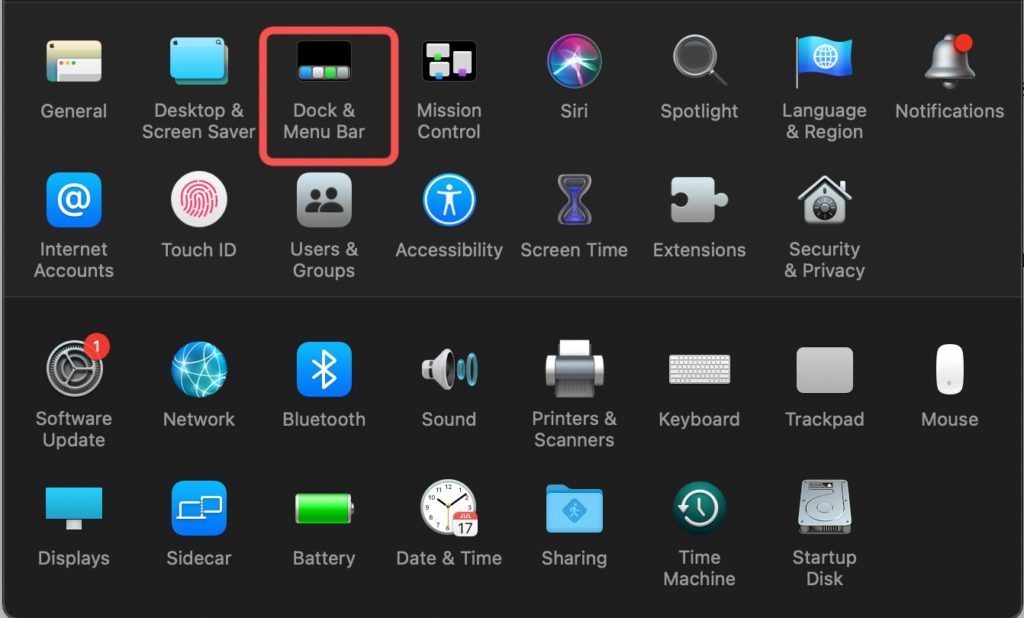
Select Dock & Menu Bar.
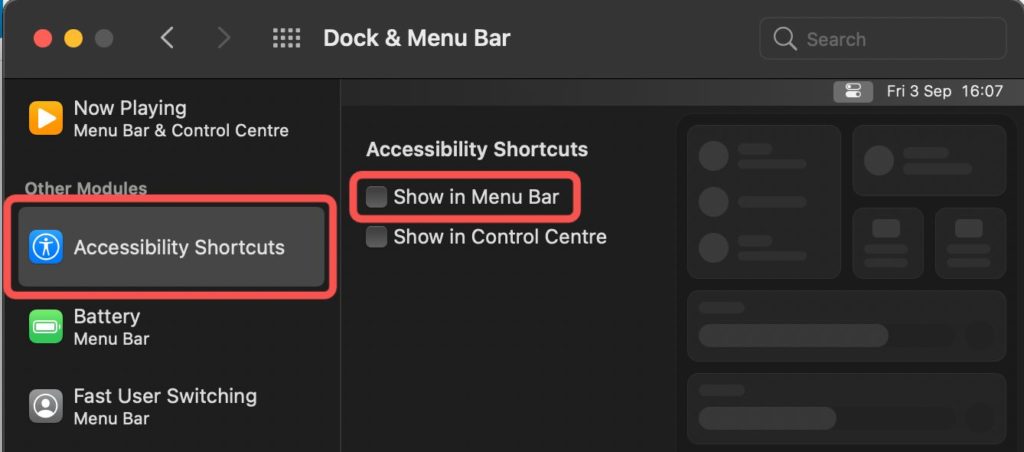
Select any of the options on the left and tick the Show in Menu Bar option and it will be added as an icon.
Remove Icon From Menu Bar On Mac
If you want to remove an icon from your menu bar, please follow the step-by-step guide below.
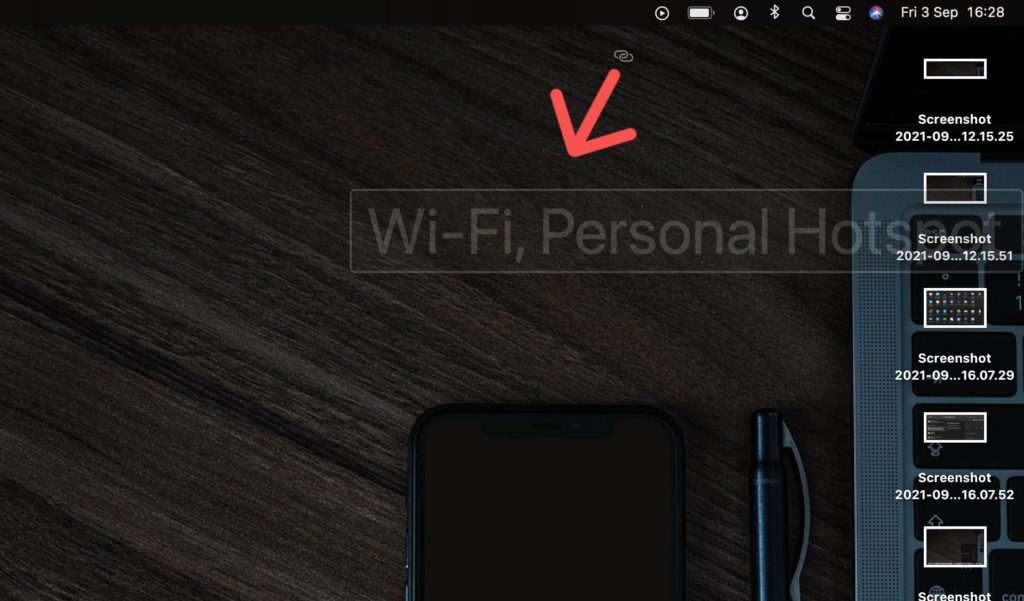
Press and hold the Command keyHover around the icon you’d like to remove from the menu bar.Left-click and hold the trackpad, drag the icon down and release the trackpad.
The icon will be removed from the menu bar.
Rearrange Menu Bar Icons On Mac
Please follow the steps below to rearrange menu bar icons on your MacBook.
Press and hold the Command keyHover around the icon you’d like to rearrange on the menu bar.Left-click and hold the trackpad, drag the icon towards where you want the new position to be, and release.
As you drag it, other icons make space for it.
Most of the icons you’d see are for system apps. If a third-party app has an icon that can be added, it will be downloaded along with the app. So you can add, remove, and rearrange as described above. And it’s time to customize your menu bar! Please let us know in the comments section if you get stuck in any of the processes listed and we’ll be glad to help out.
